Starting a YouTube movie and getting an “audio renderer error YouTube” message would be annoying. But Don’t worry; others have this problem.
In this lesson, we’ll talk about what an audio renderer error decoder problem is when you try to open a YouTube video. We will also discuss the possible reasons for the mistake and how to fix it.
How to Fix an Audio Renderer Error YouTube
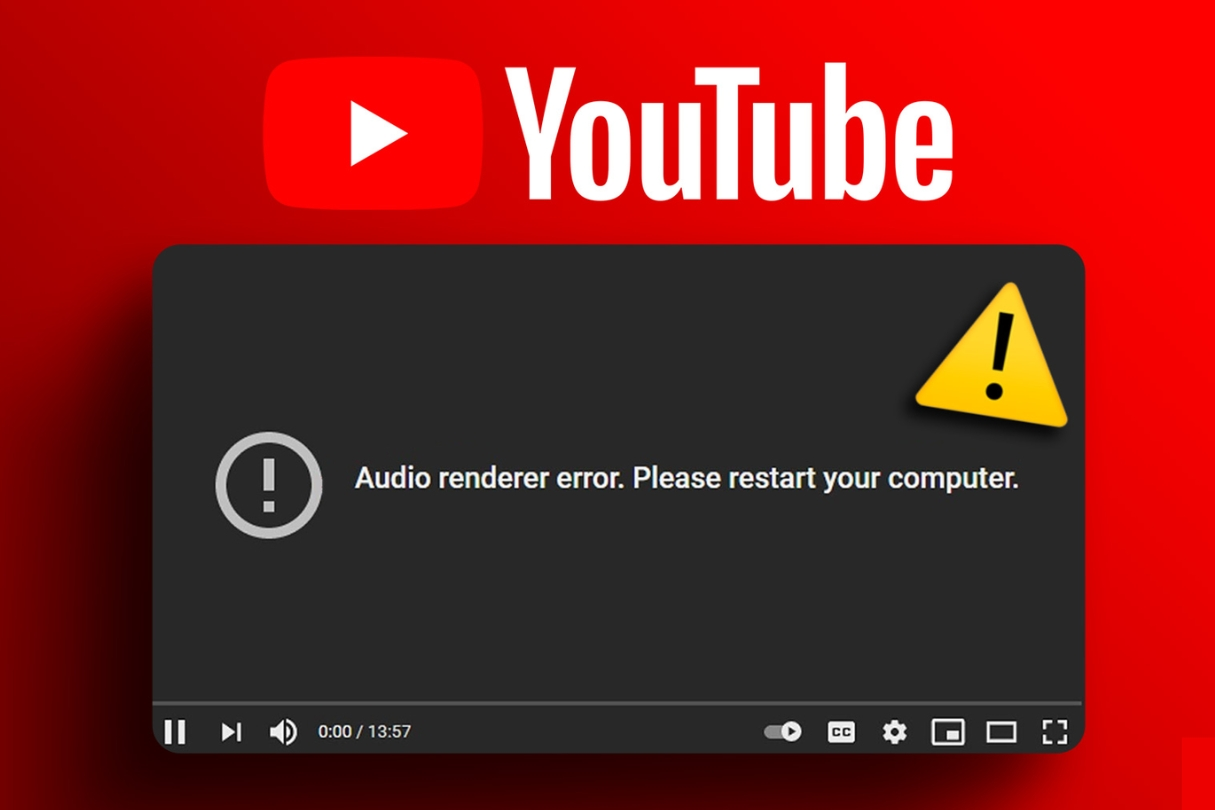
Audio Renderer Error rendering People who use YouTube sometimes see a blank screen in the player with the words “YouTube audio renderer error, try restarting your system” underlined.
Possible Causes
Bugs in the software may cause the audio renderer error encoder problem on YouTube. It can be fixed by updating the drivers.
The second thing that could be causing the Audio driver problem on YouTube is the connection of different playing devices to the system.
Ways to Correct the YouTube Audio Renderer Error
The sound decoder problem on YouTube can be fixed in several ways. There are a few ways to fix the mistake that we’ve already talked about.
1- Reconnect Device
It would help if you tried reconnecting the remote device you are using. Before following the following steps, link the device to the system again. It ensures that the connection between the device and the system is not weak.
2- Update Drivers
This sound could be caused by this mistake. It means that the sound drivers for the external device should be updated to the most recent version to avoid more problems. This method works because it fixes the most recent bugs in the system.
Follow the steps below to update the drivers:
Use the Audio troubleshooter.
Click the “Windows” button in the search bar and type “Settings.” Then, open the file like in the picture below.
3- Driver Roll Back
There are times when the new driver update can make the driverless stable. When this happens, it’s best to return to older versions of the driver. To roll back the drivers, do what’s written below.
If you right-click the “Windows” start button, a list like the one below will appear.
4- Update Driver
Every company regularly puts out changes and So, fixes for the drivers and software it makes. It is essential to keep your driving up to date.
To update a driver, open “Device Manager” and right-click on it.
It will bring up a window that asks the user to decide whether to update immediately or look for the changes in the drivers.
5- Restart Your Computer

Sometimes, the YouTube audio renderer error happens because of system lag or other issues.
So, the best way to eliminate this mistake is to restart your computer. It will let the files back into memory and fix any fundamental problems.
6- Run Audio Troubleshooter
There are built-in debugging tools in Windows that can fix minor problems with different system parts. Since it involves playing music, you can run the audio Troubleshooter to see if it can figure it out.
There are a lot of different ways to get to the Settings menu.
Click on the Troubleshoot button on the System tab.
Click on Other ways to fix problems.
7- Update the Browser
Are you still using an old browser? If you said yes, it makes sense that you are getting the YouTube audio renderer error. The trouble only happens to people who are using old software.
So, it would help if you got the latest update for your computer to fix the problem. Following these steps will bring Google Chrome up to date.
Press the three dots and then “Settings” in Google Chrome.
From the menu on the left, pick About Chrome.
Any fix out there will be looked for and downloaded by Google Chrome.
You can also get the fix on any other computer you have.
8- Disable Audio Enhancement
The audio improvement tool in Windows helps to make the sound better. But, sadly, it can also be the cause of the issue at hand. If that doesn’t fix the problem, turn this option off. How to do it.
Open up Settings.
On the System tab, click on the Sound button.
Next to “Advanced,” click “More Sound settings.”
When the sound starts, click on Run.
Pick out the sound gadget that is linked, then click on Next.
The troubleshooter box will check the chosen device for problems and fix any.
Frequently Ask Question
How do you restart Realtek Audio Manager?
To fix this, double-click “Sound, Video, and Audio Controllers.”
Click the sound driver and then right-click on it.
“Allow to restart the device” should be clicked.
How do you run an audio troubleshooter?
Connect your gadgets that play music.
Start up your computer again.
Troubleshoot the sound.
Start up your sound drivers again.
Get a new audio driver.
Revert your sound driver.
Both the audio driver and the ASIO driver should have the same sample rate set.
Where can you find the playing Audio Troubleshooter?
You can find the Troubleshooter for the sound in the settings.
Press the “Start” button.
Pick up “Settings”
Go to System, then Sound, and then Troubleshoot.
How do you uninstall audio drivers in Windows 10?
Press the “Windows + X” key on your computer.
Choose “Device Manager” from the screen that comes up.
Launch “Sound, Video, and Audio Controllers” by clicking on it.
Pick out the drivers you want to get rid of.
Press the “Uninstall” button.
How do you fix an audio driver?
To fix it, open Device Manager.
Select Sound Drivers from the list.
Find the driver and right-click on it. Then, click on Update driver.
“Browse for drivers update” needs to be clicked.
Pick out the fix that you want to put in.
How do you fix Realtek Audio?
Type “Windows + X” into the search box.
Pick “Device Manager” from the menu.
To use the sound, video, and device controllers, click ON IT.
Click on the Realtek High Definition Audio Device and then right-click on it.
Press and hold “Update Driver” for a second.
Pick out the changes and keep the driver up to date.
It will work again after you restart your computer.
How do you unlock sound on the laptop?
Go to the Control Panel and open it.
Press on “Hardware and Sound.”
Press the “Sound” button.
Right-click on the Playback Device that comes up by default and select “Properties.”
The “Advanced Tab” should be clicked on.
Uncheck the boxes in the Exclusive Mode section to make the Exclusive Mode a selection choice.
Press “OK.”
Enjoy YouTube Videos Without Interruption Again
No one likes being stopped while watching their favorite YouTube videos. Thankfully, most problems with YouTube can be quickly fixed with easy fixes. Feel free to try the above options if you get the audio decoder error.
Conclusion
In this lesson, we discussed an audio renderer error driver problem on YouTube, what might cause it, and how to fix it on your computer. However, The best thing to do is restart your computer, change your drivers, and look for other possible reasons.
YouTube audio renderer error happen when software and drivers can’t be calibrated. It could be for any reason or because of bugs in the drivers. This mistake usually occurs because of a problem with the computer. Users can choose to use a different browser to avoid these kinds of issues.


1 comment
Comments are closed.